
4/4/21
Today’s blog post is a little bit different, but definitely something I’ve been looking forward to trying to include in this space. For the last ten years I’ve largely been scanning my own film and it’s always been one of my favorite parts of the process of taking photos. Due to various technological issues and hard drive crashes over the years I’ve lost most of my scans prior to ~2018 so I recently reorganized all of my film in preparation to re-scan and index all of it. Because the process is something I really enjoy and like to spend time with I though I’d put together a blog post breaking down my workflow in case others are interested! I do want to preface this with the fact that this is just the method that I’ve found works for me and I’m sure there are ways in which it could be improved. I am a hobbyist, not a professional and I’m here to share more than I am to instruct :-)
Alright, let’s go!
Today’s blog post is a little bit different, but definitely something I’ve been looking forward to trying to include in this space. For the last ten years I’ve largely been scanning my own film and it’s always been one of my favorite parts of the process of taking photos. Due to various technological issues and hard drive crashes over the years I’ve lost most of my scans prior to ~2018 so I recently reorganized all of my film in preparation to re-scan and index all of it. Because the process is something I really enjoy and like to spend time with I though I’d put together a blog post breaking down my workflow in case others are interested! I do want to preface this with the fact that this is just the method that I’ve found works for me and I’m sure there are ways in which it could be improved. I am a hobbyist, not a professional and I’m here to share more than I am to instruct :-)

*Not all of these things are 100% necessary right off the bat. You can hold your film up to a window in the daylight if you don’t have a light pad or table, and a regular binder is fine if that’s all you’ve got right now. You absolutely should use white cotton gloves while handling film though, it will really make your job easier!
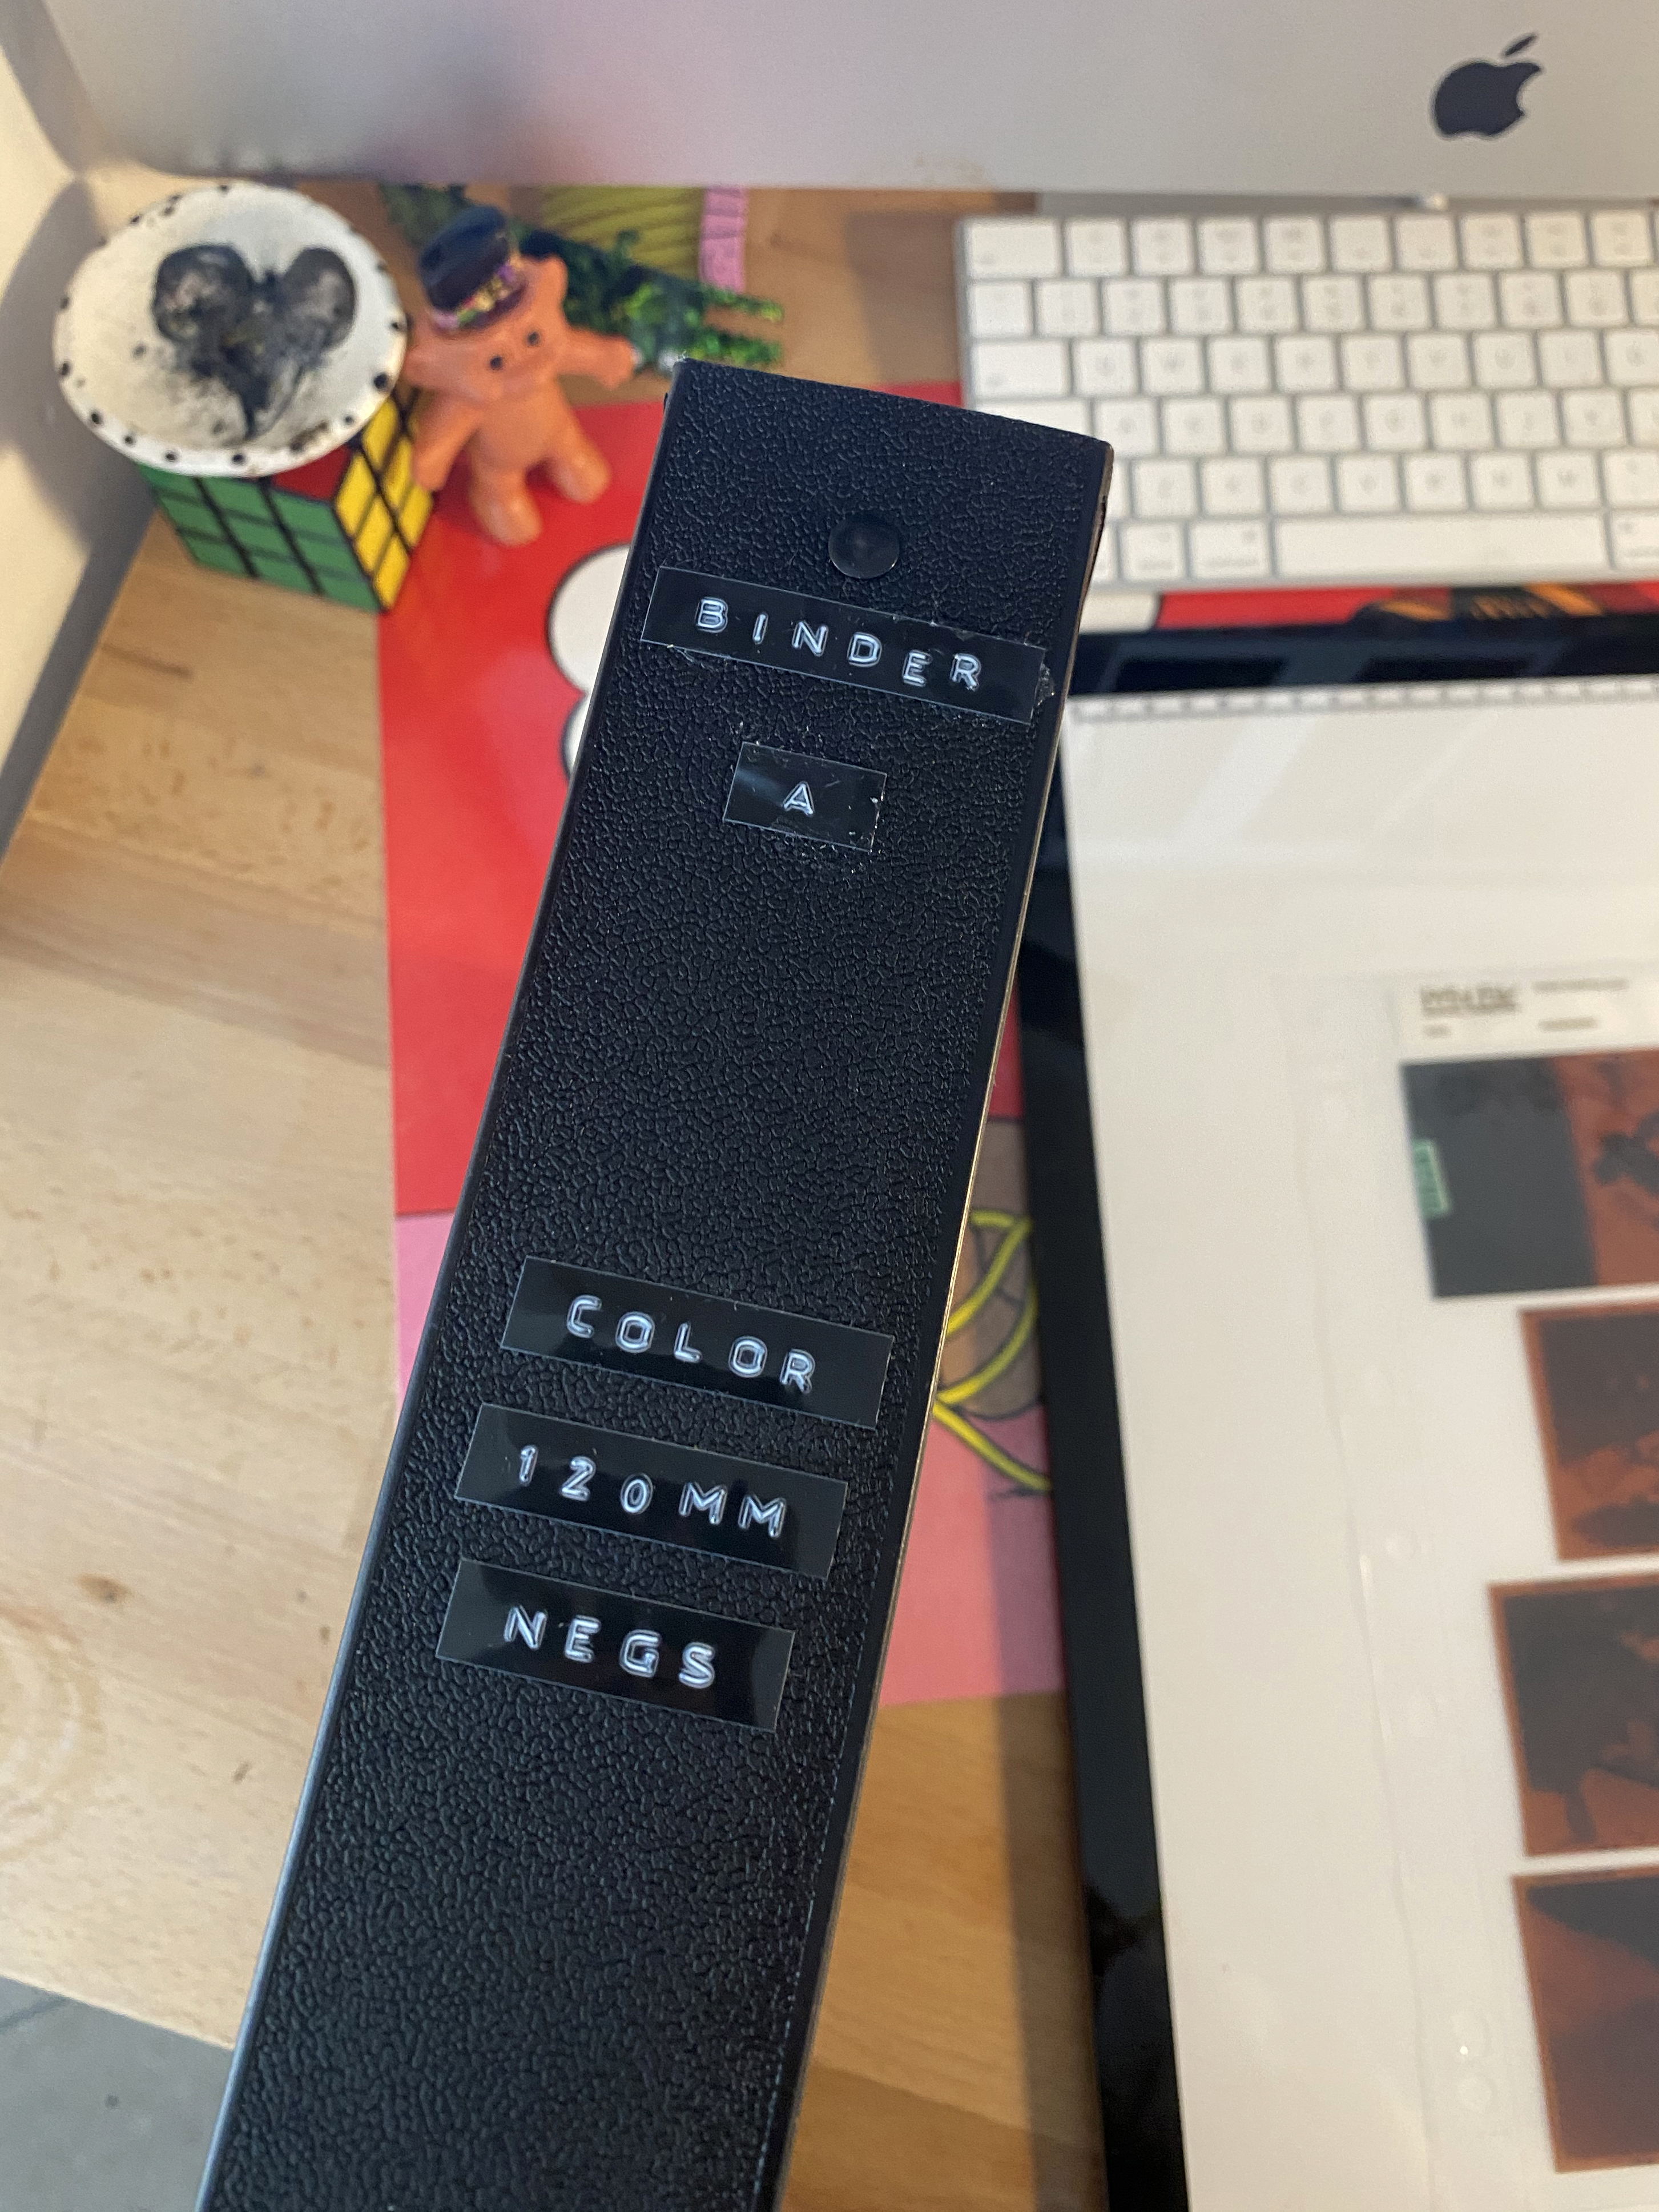
Over the years the organization of my film has shifted from chronological to sort of...wherever stuff will fit. This is due purely to my own bad habits (shame on me), but I’ve now divided everything by format (Binder A: Color 120mm, Binder B: Color + B&W 120mm, Binder C: Color 35mm, Binder D: Color and B&W 35mm, Binder E: 35mm Slides) and within that by number and letter.
![]() Each binder has a letter.
Each binder has a letter.
![]()
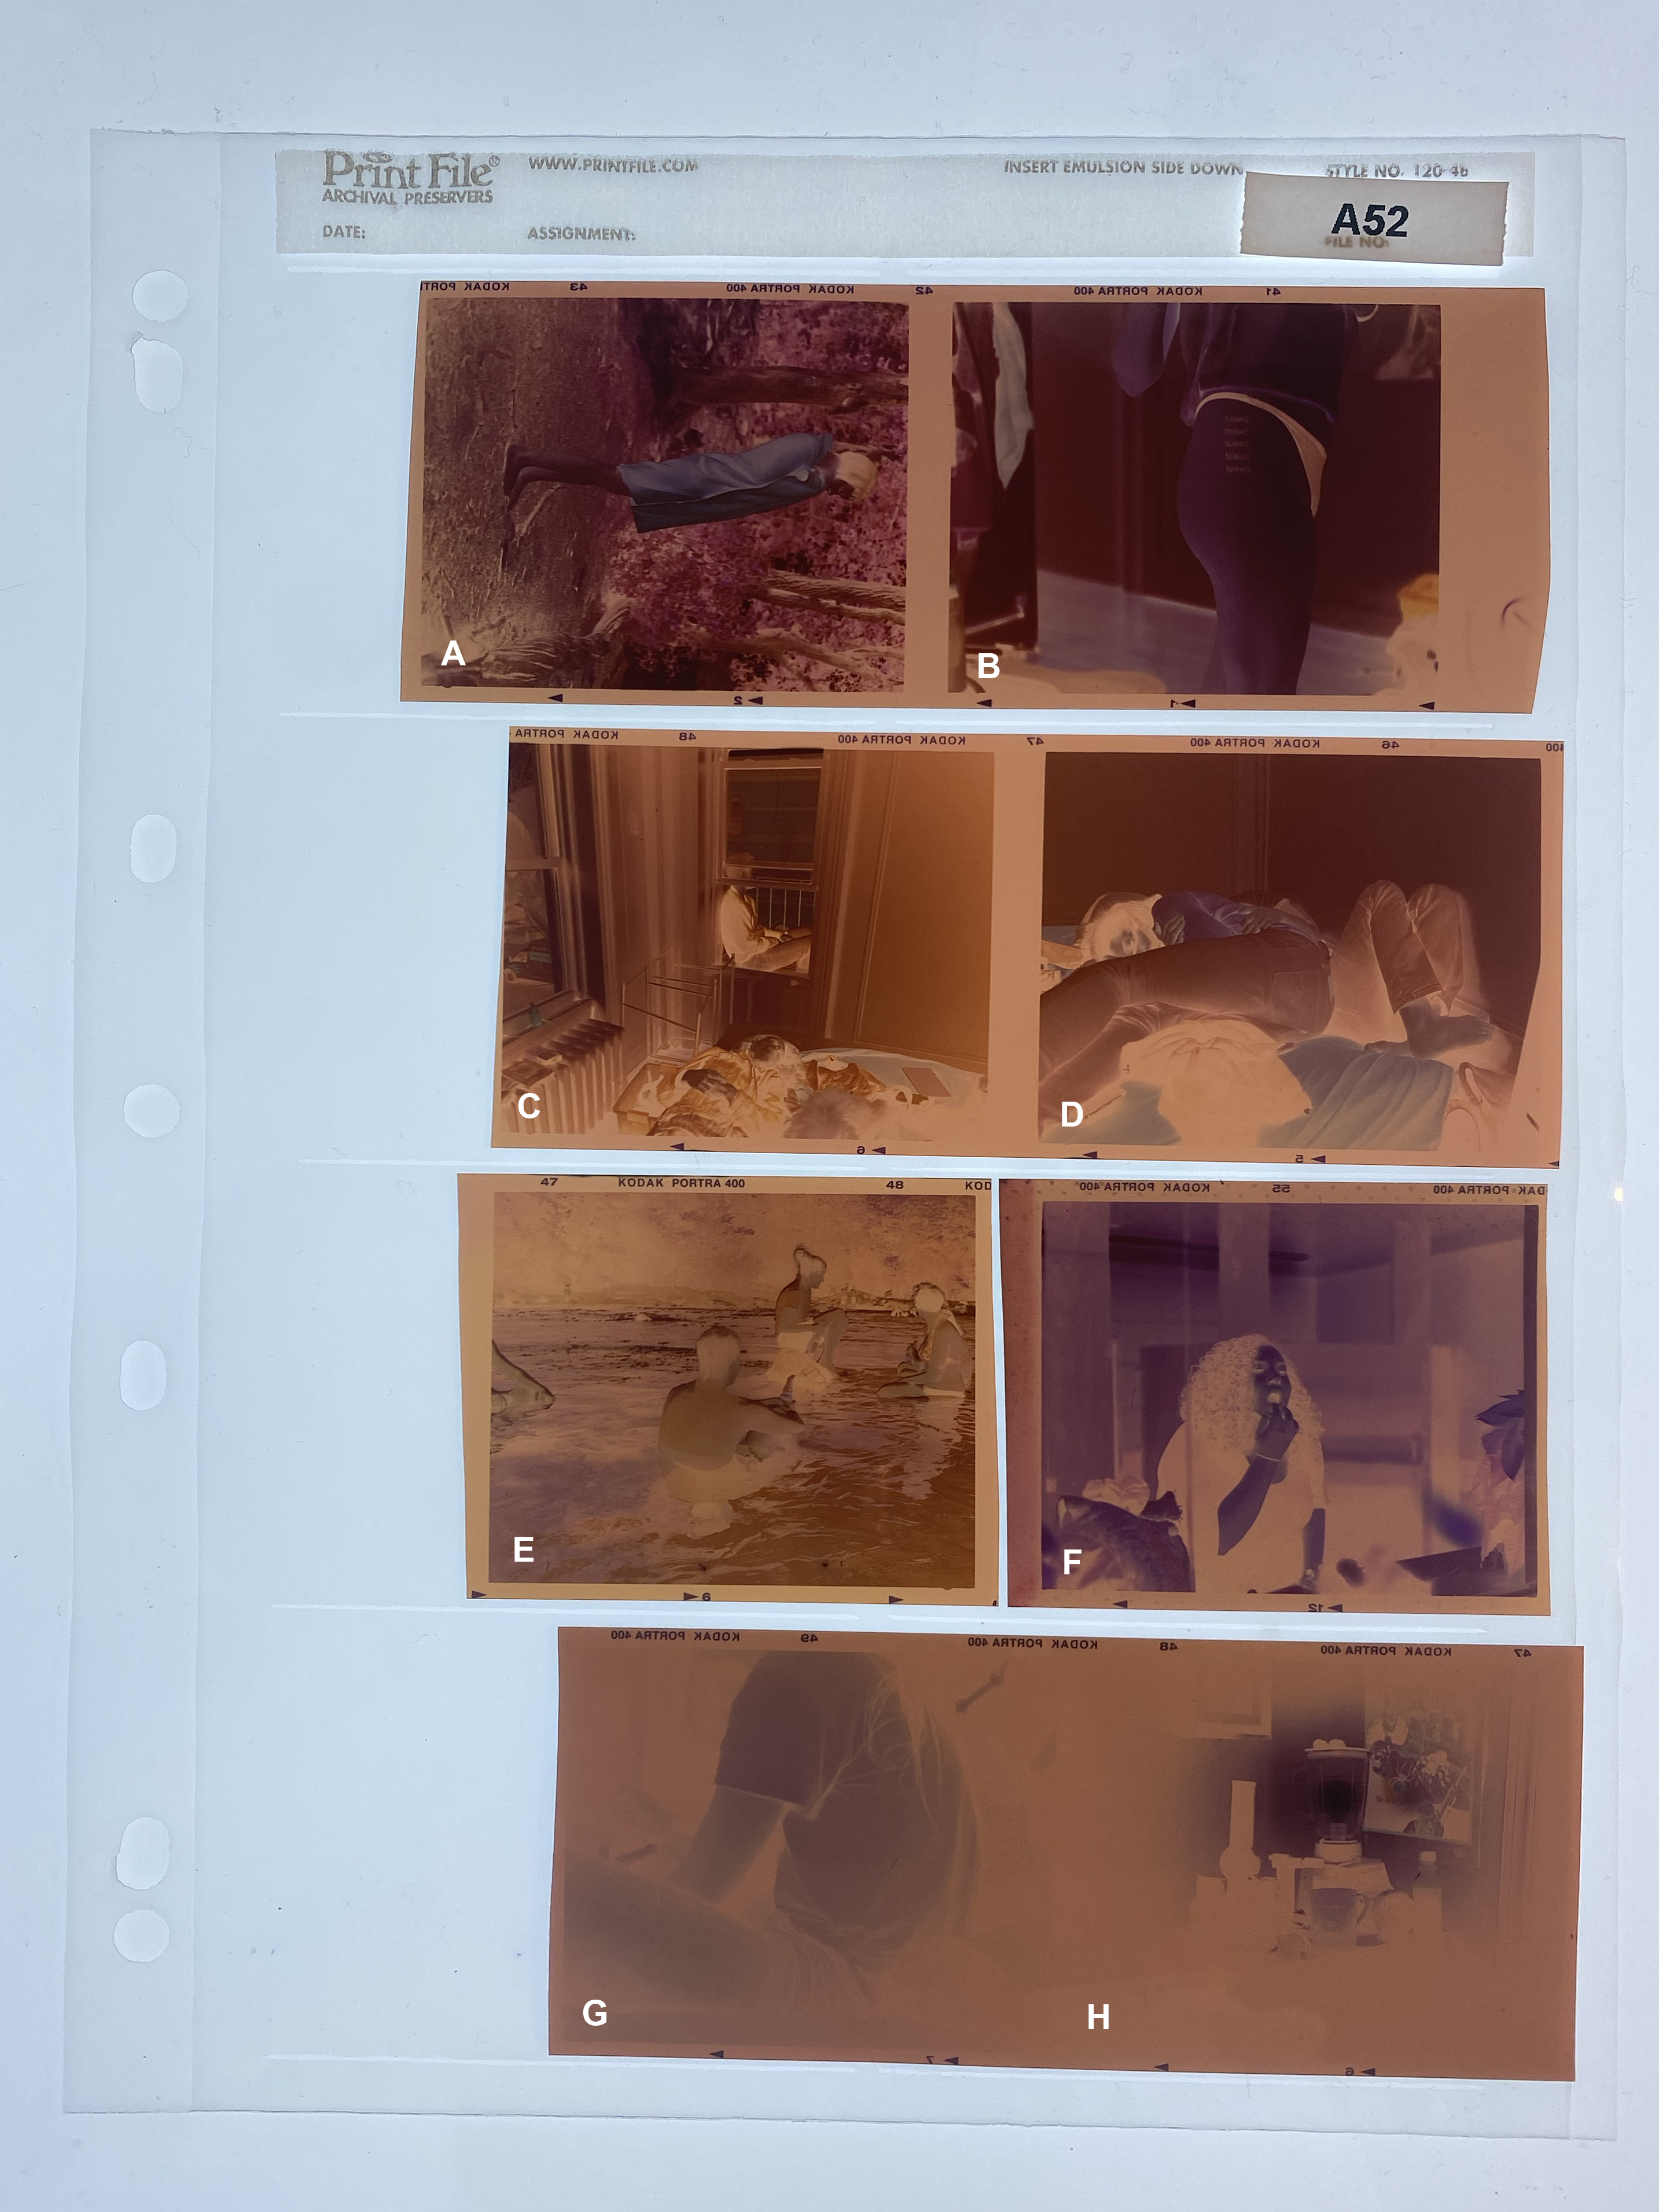
I give each page within the binder a number.
![]()
Each negative in the sheet then has a “letter” (these I don’t actually label).
Over the years the organization of my film has shifted from chronological to sort of...wherever stuff will fit. This is due purely to my own bad habits (shame on me), but I’ve now divided everything by format (Binder A: Color 120mm, Binder B: Color + B&W 120mm, Binder C: Color 35mm, Binder D: Color and B&W 35mm, Binder E: 35mm Slides) and within that by number and letter.
 Each binder has a letter.
I give each page within the binder a number.
Each negative in the sheet then has a “letter” (these I don’t actually label).
When I scan each of the negatives on this they will be titled A52a, A52b, A52c, etc that way the file name tells me exactly where that negative is physically in case I wanted to re-scan, print with, or just find that actual negative for any reason in the future. I also like this method because it allows me to scan things out of order without messing up that system in case I get bored and feel like scanning 35mm one day and medium format the next. We’re going to move forward with scanning image A52a for this tutorial.
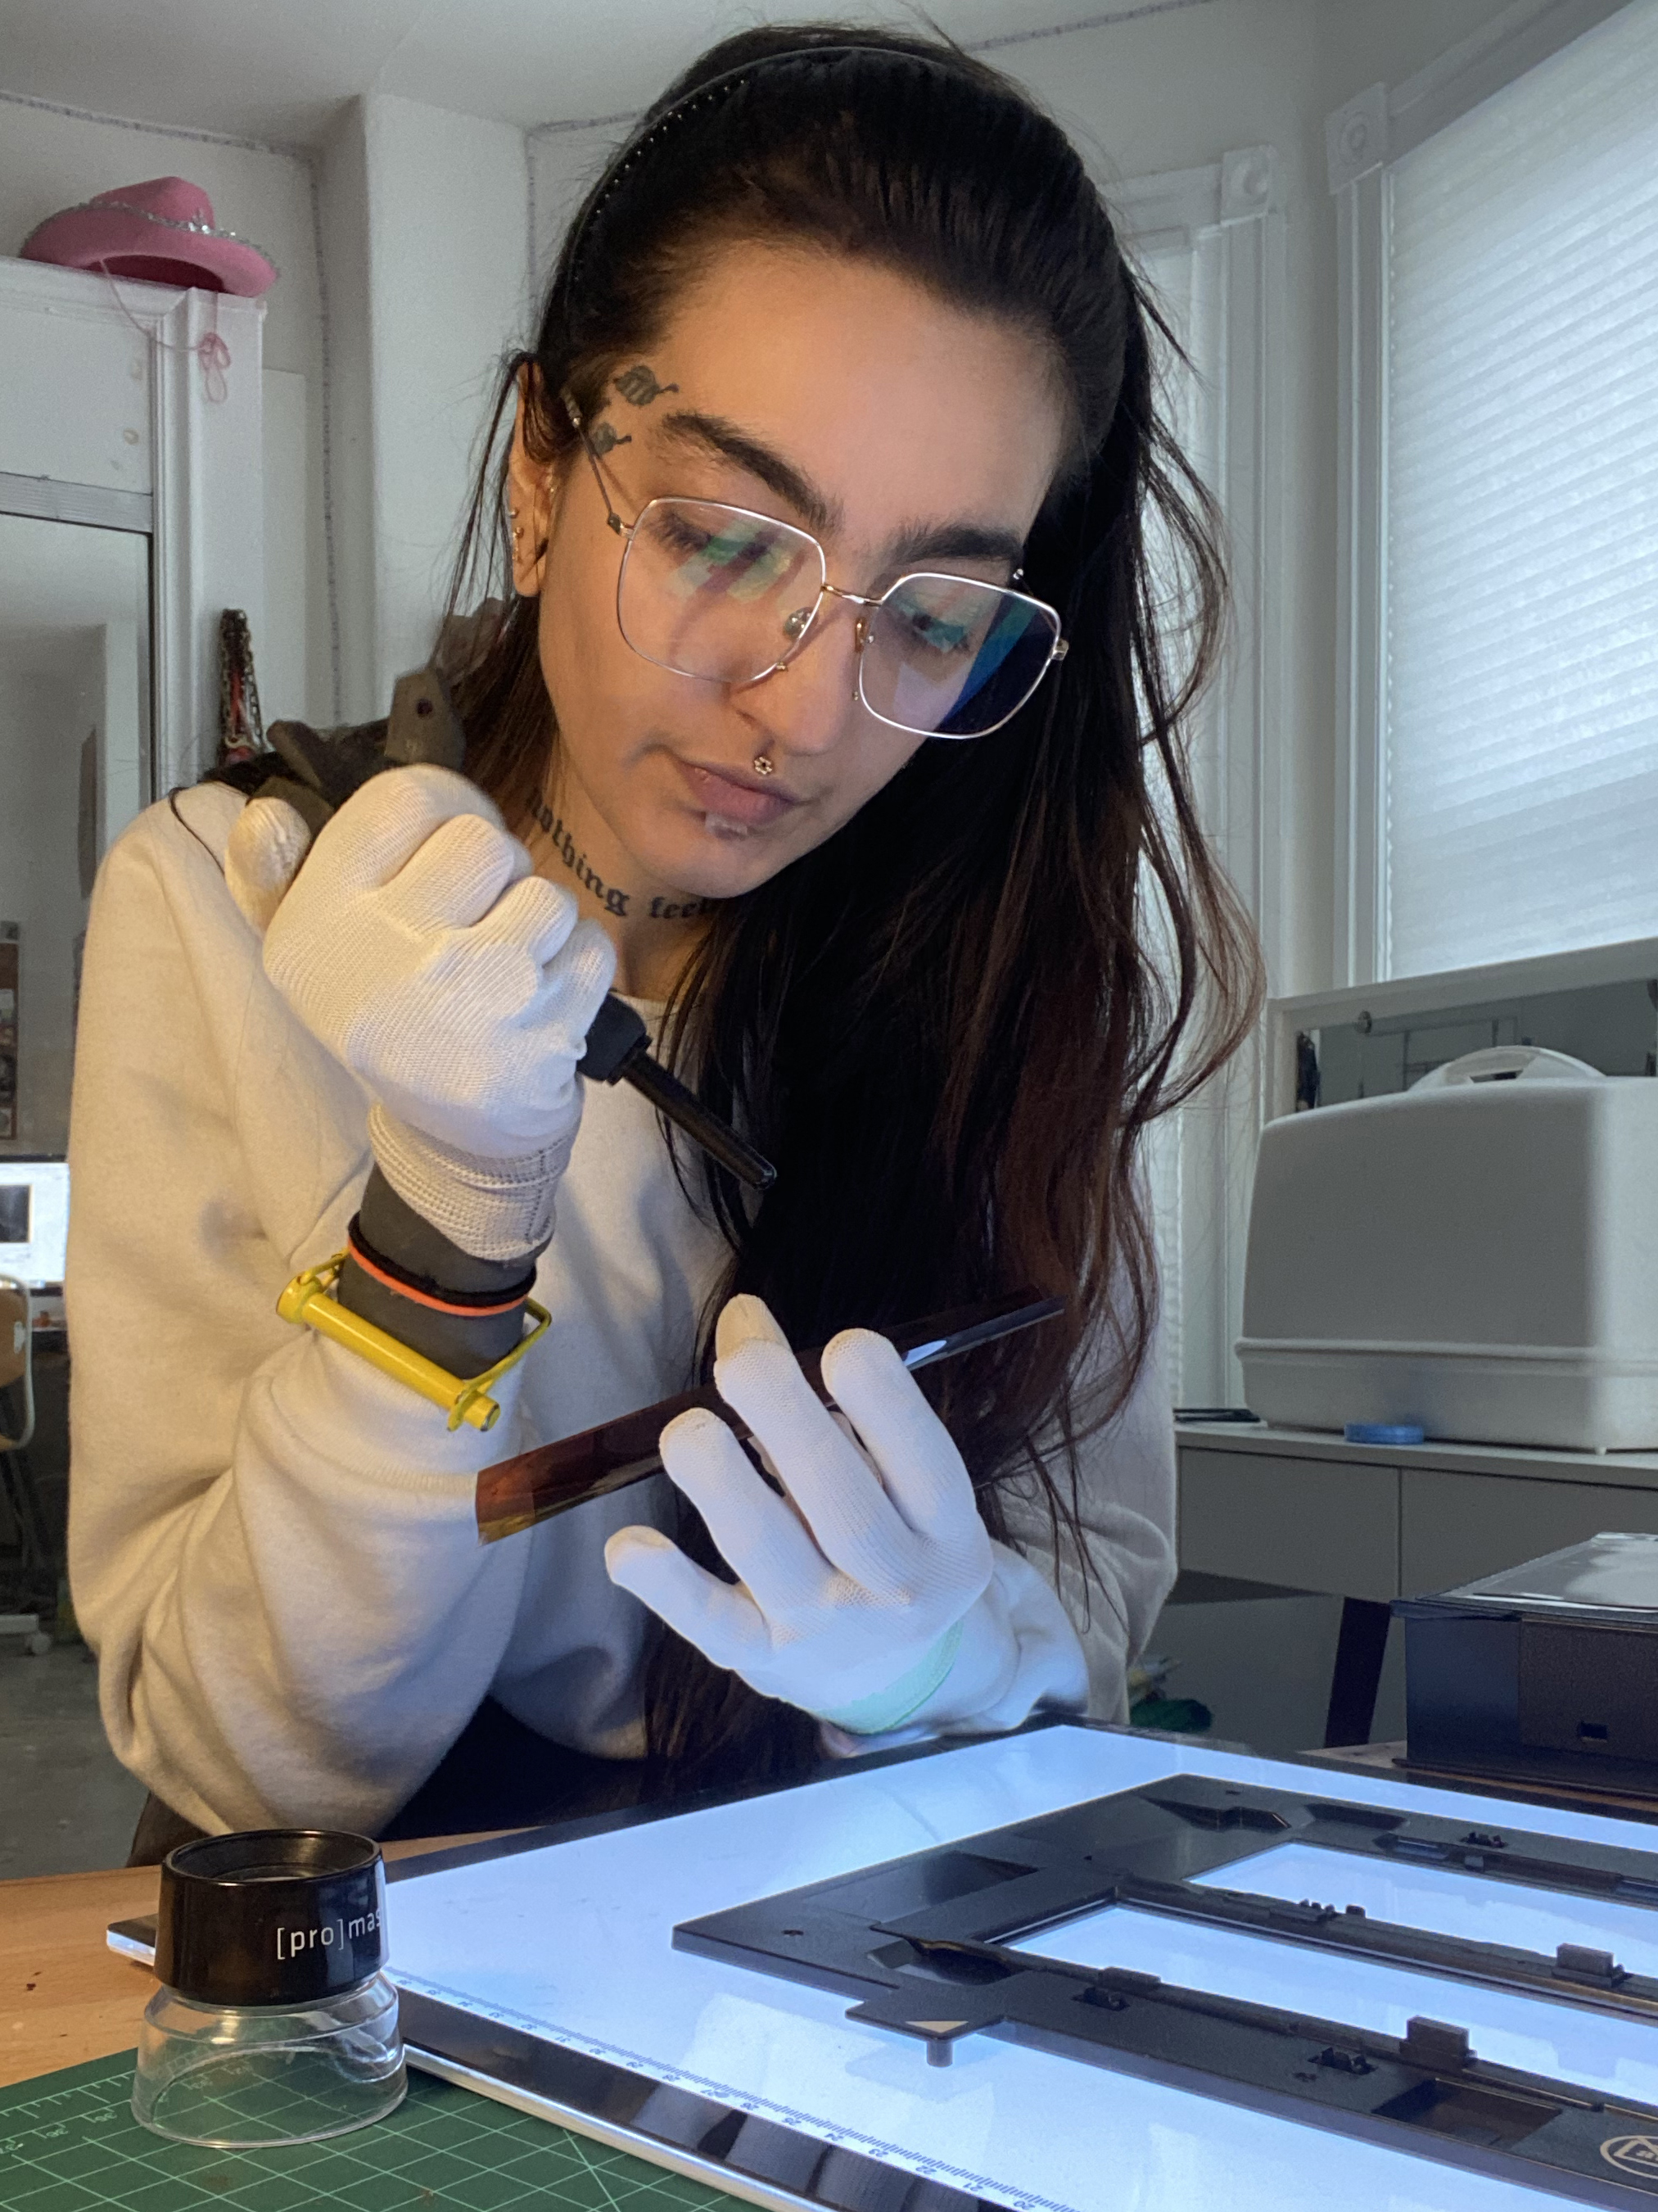
![]() The first thing I’m going to do is put on gloves, take the film out of it’s Printfile sleeve, and use the rocket blower to remove as much dust from both sides of the negative as possible.
The first thing I’m going to do is put on gloves, take the film out of it’s Printfile sleeve, and use the rocket blower to remove as much dust from both sides of the negative as possible.
![]()
The film needs to go into the holder with the image and any text in your photo backward. If there’s no text in your image you can use the edge of your film to judge this.
 The first thing I’m going to do is put on gloves, take the film out of it’s Printfile sleeve, and use the rocket blower to remove as much dust from both sides of the negative as possible.
The film needs to go into the holder with the image and any text in your photo backward. If there’s no text in your image you can use the edge of your film to judge this.

Once the film is in the holder I give the scanner bed a wipedown with my microfiber cloth to try and get the area as dust-free as I can.

The holder then gets put down on the scanner with the white arrows on the film holder lining up diagonally with the arrows on the scanner.
After this I close the scanner, make sure it is turned on and connected to my computer and open up SilverFast.
(When I was first starting out I did this with a used Epson V600 and Epson Scan, which are more accessible monetarily and totally suitable for starting to scan your own film at home. I eventually invested in nicer equipment and software because I really enjoy this process, but these are by no means the equiptment and software you *need* to do this at home. YouTube is a great resource if you’re looking for a guide to the scanner and software you have access to specifically.)

The first thing I hit is Prescan to get rid of the preview from whatever film I was scanning last.
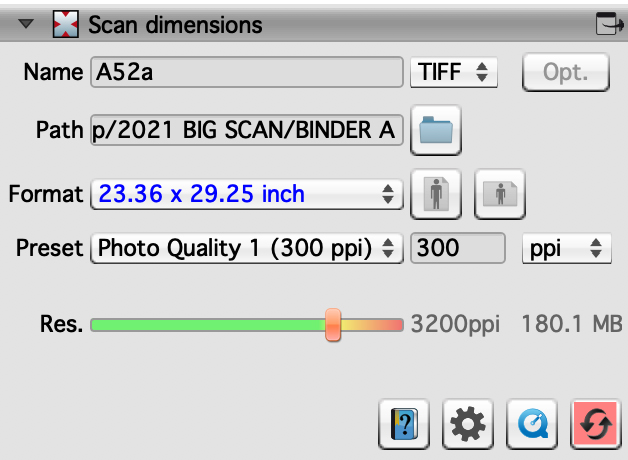
Then I’m going to set up the file name and dimensions. In this case this file is going in my “Binder A” folder and it’s the first frame from page A52 so I’m calling it A52a. I’m scanning each of these negatives to be able to produce a good-sized print on the fly so 3200ppi is pretty much as large as I need. If I ever needed a scan of this image larger than this the name of the file would tell me exactly where to find it to re-scan at a larger size.
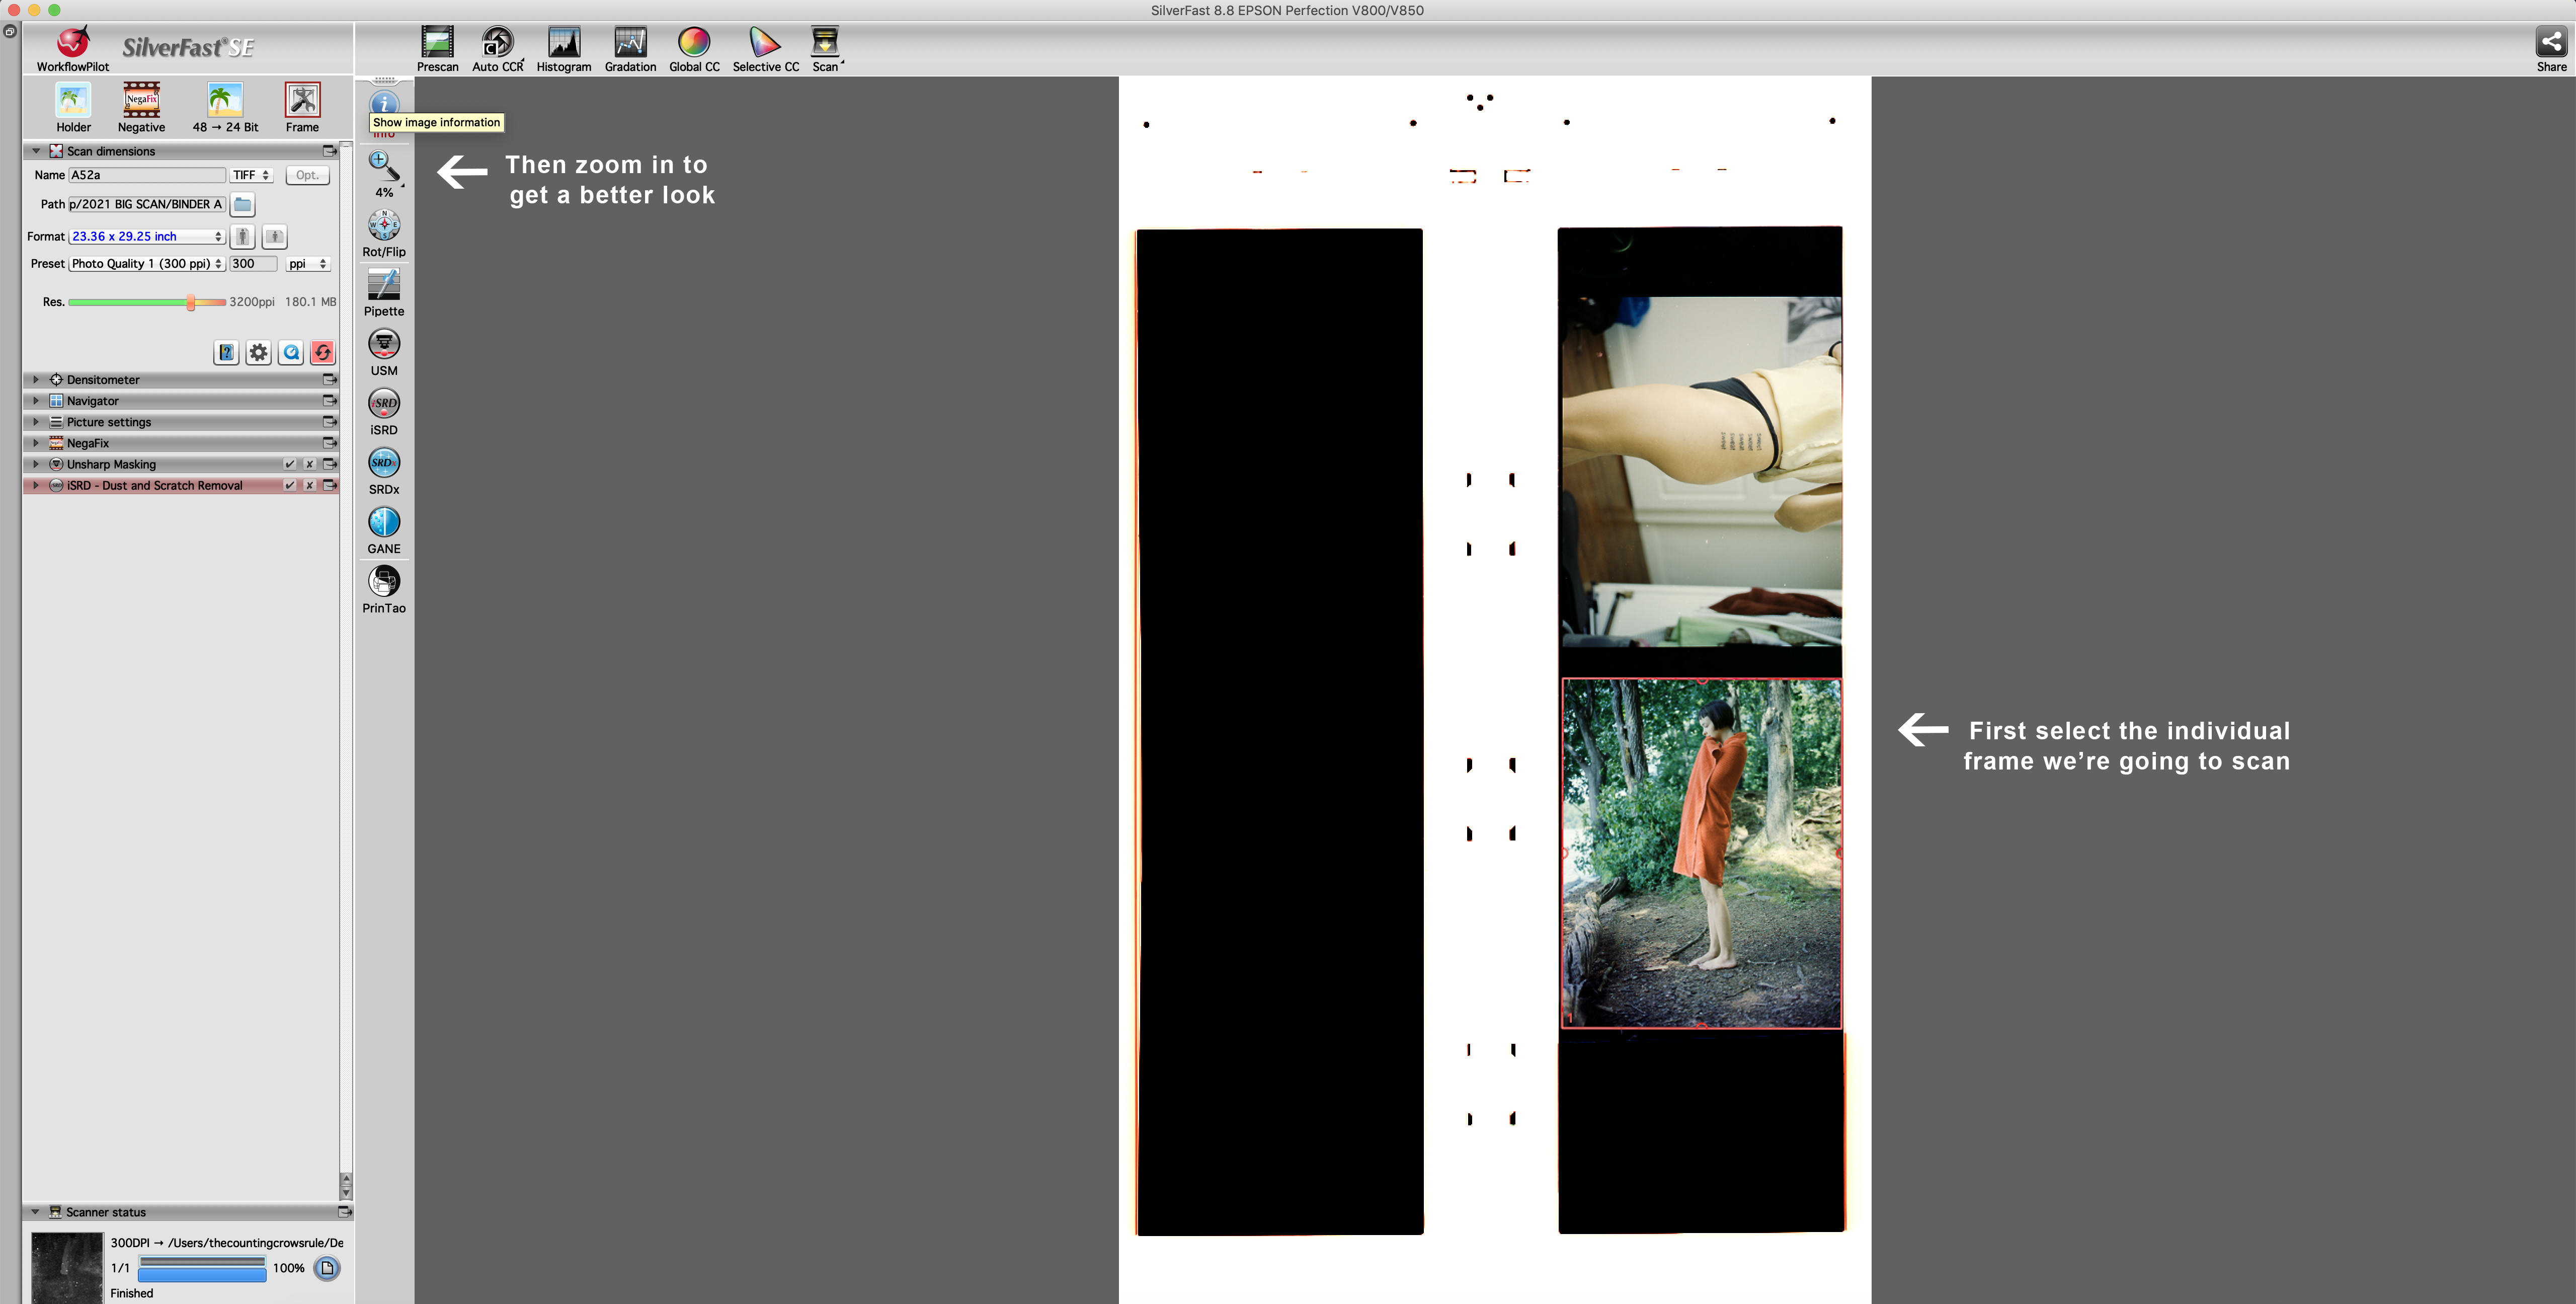
I then move the red selection box to select just the frame I want to scan and hit zoom so I can adjust the edges and make color/histogram corrections with a larger preview.
![]() Now that the edges of the image are defined exactly I’m going to make a few tweaks to the image within SilverFast before scanning. The first tool I use is NegaFix, a tool that I love and that I believe is native to SilverFast, that optimizes your scan based on the exact type of film you’re scanning.
Now that the edges of the image are defined exactly I’m going to make a few tweaks to the image within SilverFast before scanning. The first tool I use is NegaFix, a tool that I love and that I believe is native to SilverFast, that optimizes your scan based on the exact type of film you’re scanning.
![]()
![]()
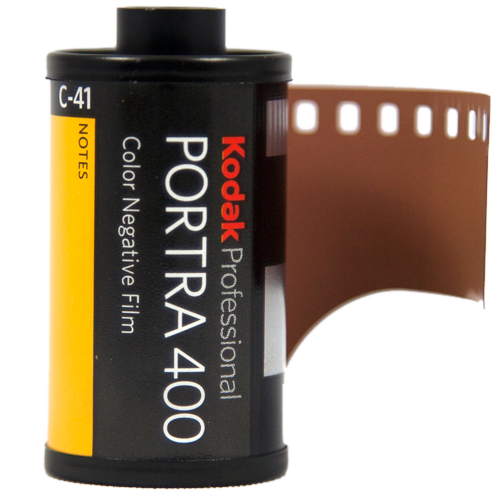
I’m scanning 400 speed Kodak Portra so I’m going to select those options. If you’re scanning older film like Portra NC you can specify that as well. At this stage you could also adjust the exposure for your image if it’s looking a little under or overexposed.
![]()
![]()
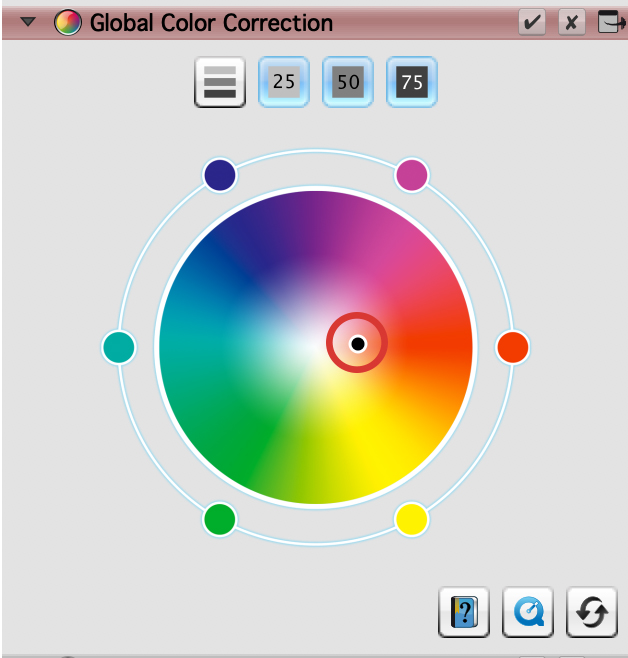
The next tools I use are Histogram and Global Color Correction. Like the Levels tool in Photoshop the Histogram tool lets you adjust highlights, shadows, and midtones using the three circled sliders. I’ve made some minor adjustments for this scan, but overall the exposure looks good to me. I then move on to color correction and use the slider in the middle of the tool to counteract any colors in the highlights, midtones, and shadows that look obviously wrong to me. Both of these tools are things I also adjust in Photoshop so I’m not looking for the preview these generate to be the final result, just closer to correct than the intial preview. When scanning any photo with a person in it I try to use the skin to gauge my adjustments. My goal is always for the skintones in the image to look as “natural” and correct as possible.
 Now that the edges of the image are defined exactly I’m going to make a few tweaks to the image within SilverFast before scanning. The first tool I use is NegaFix, a tool that I love and that I believe is native to SilverFast, that optimizes your scan based on the exact type of film you’re scanning.
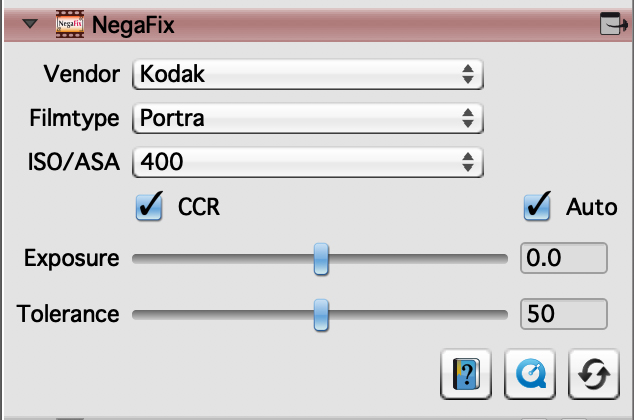

I’m scanning 400 speed Kodak Portra so I’m going to select those options. If you’re scanning older film like Portra NC you can specify that as well. At this stage you could also adjust the exposure for your image if it’s looking a little under or overexposed.

The next tools I use are Histogram and Global Color Correction. Like the Levels tool in Photoshop the Histogram tool lets you adjust highlights, shadows, and midtones using the three circled sliders. I’ve made some minor adjustments for this scan, but overall the exposure looks good to me. I then move on to color correction and use the slider in the middle of the tool to counteract any colors in the highlights, midtones, and shadows that look obviously wrong to me. Both of these tools are things I also adjust in Photoshop so I’m not looking for the preview these generate to be the final result, just closer to correct than the intial preview. When scanning any photo with a person in it I try to use the skin to gauge my adjustments. My goal is always for the skintones in the image to look as “natural” and correct as possible.
Making those adjustments using the NegaFix, Histogram, and Global Color Correction tools has
︎︎︎ turned to original preview into the one on the right. Not perfect, but better! ︎︎︎

Original

New Preview
The last two things I check on are the Unsharp Masking and the Infrared Dust and Scratch Removal Tools. The first one is going to sharpen up the edges in your image, but it can also be done in Photoshop if you wanted with some more control so I usually just keep my preset on Auto Sharpness. If you’ve ever used the clone stamp or heal tool in Photoshop to edit out dust and scratches from a film scan before the iSRD tool basically does this automatically (but not perfectly). I do think it does a good job in some cases, but not all so I’d recommend generating a high quality preview of your image before actually scanning to make sure it didn’t leave any weird artifacts on your scan. I honestly think it takes less time to edit out the few small artifacts this tool leaves on your scan when it does leave them than it does to edit out every individual piece of dust, but a lot of people still really don’t like it. I’d recommend playing around with this tool yourself to see how you feel about it.

To generate a high quality preview of either the Unsharp Masking or iSRD tools hit the HQ button. Once the preview is generated you can zoom to the portion of the image in sharpest focus or with the most dust to check on each.

Now that I’m happy with my preview I’m going to hit Scan in the menu at the top, sit back, and wait. The scanner is going to make two passes; a regular one, and one for the iSRD tool, and once both scans are complete the file will be good to open in Photoshop to make any other adjustments I want. Normally I would repeat this process with the second negative in the holder before moving onto editing, but in the interest of showing you this process start to finish we’ll just follow the progress of this one image.
![]()
The first thing I do once I open the image in Photoshop is zoom into the image at 100% and check that the iSRD tool did a good job eliminating dust and scratches. If it has left any noticeable artifacts behind I’ll use the heal tool or clone stamp to fix these.
The first thing I do once I open the image in Photoshop is zoom into the image at 100% and check that the iSRD tool did a good job eliminating dust and scratches. If it has left any noticeable artifacts behind I’ll use the heal tool or clone stamp to fix these.

After I’m happy with that aspect of the image I’ll make any adjustments I think are necessary with the Levels and Color Balance tools.
And here is my final result! 
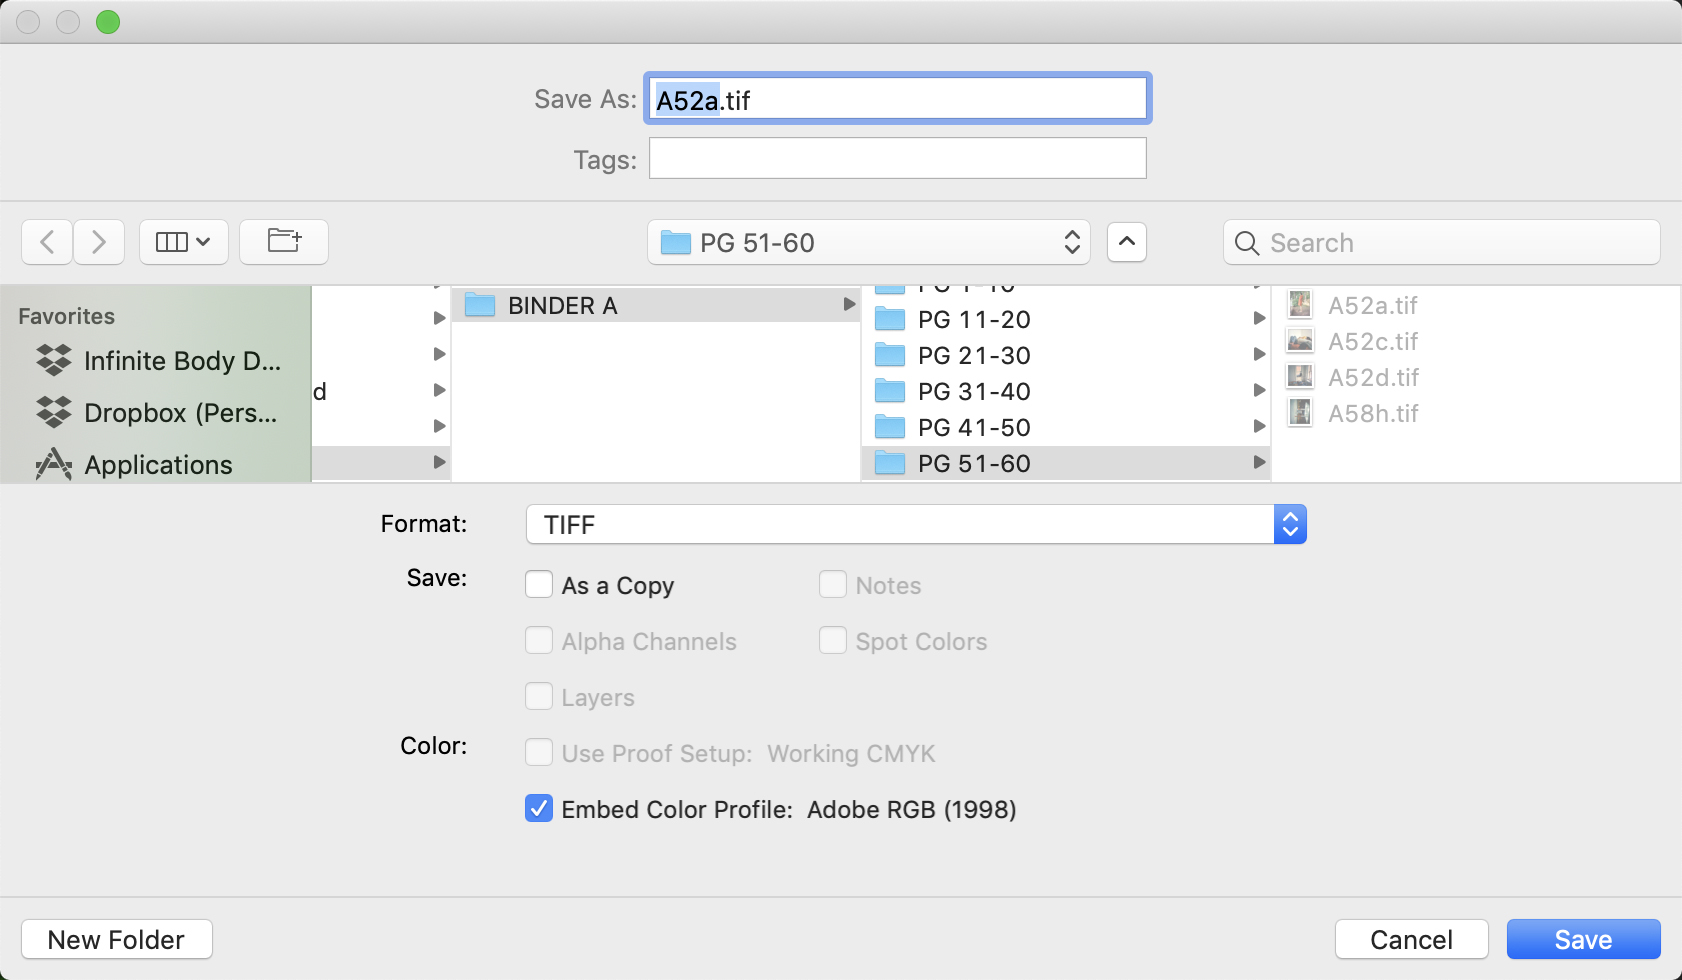
The last step is to save my image into the appropriate folder within Binder A and add tags. I use tags to be able to quickly find any image or images I could be looking for within my hard drive and physically. Some examples of things I include in the tags are:
-The camera the photo was shot with
-The type of film it was shot on
-Whether it’s color or black and white film
-What format it is (35mm vs medium format)
-The location (if I remember)
-Whether it’s a portrait, landscape, etc
-If it’s a portrait then the person’s name
-Any other relevent descriptors

Ideally once I’ve scanned all of my film this will allow me to find any photo in my archive in a matter of seconds, both digitally and physically. If you’re just starting out you may not need your scans organized this comprehensively, use whatever system is going to fit your needs!
Until next time!
-Noorann